
Table of Contents
Flushing your water heater tank removes sediment buildup that can reduce efficiency and damage your unit. This simple maintenance task can extend your water heater’s life by years and save you money on energy bills. You should flush your water heater tank once a year to keep it running smoothly. The process takes about an hour and requires basic tools like a garden hose, bucket, and a wrench.
Why You Should Flush Your Water Heater Tank
Your water heater works hard every day to provide hot water for showers, dishes, and laundry. Over time, minerals from your water supply settle at the bottom of the tank. This sediment is mostly calcium and magnesium that naturally occur in water.
When sediment builds up, it creates several problems. First, it forms a barrier between the heating element and the water, making your heater work harder to heat water. This wastes energy and increases your utility bills.
Second, sediment can cause strange noises like popping or rumbling sounds. These happen when water gets trapped under the sediment layer and bubbles up. The noise means your heater is struggling.
Third, sediment buildup can lead to corrosion inside the tank. This shortens your water heater’s lifespan and may cause leaks. A water heater that should last 10-15 years might fail after just 5-7 years without proper maintenance.
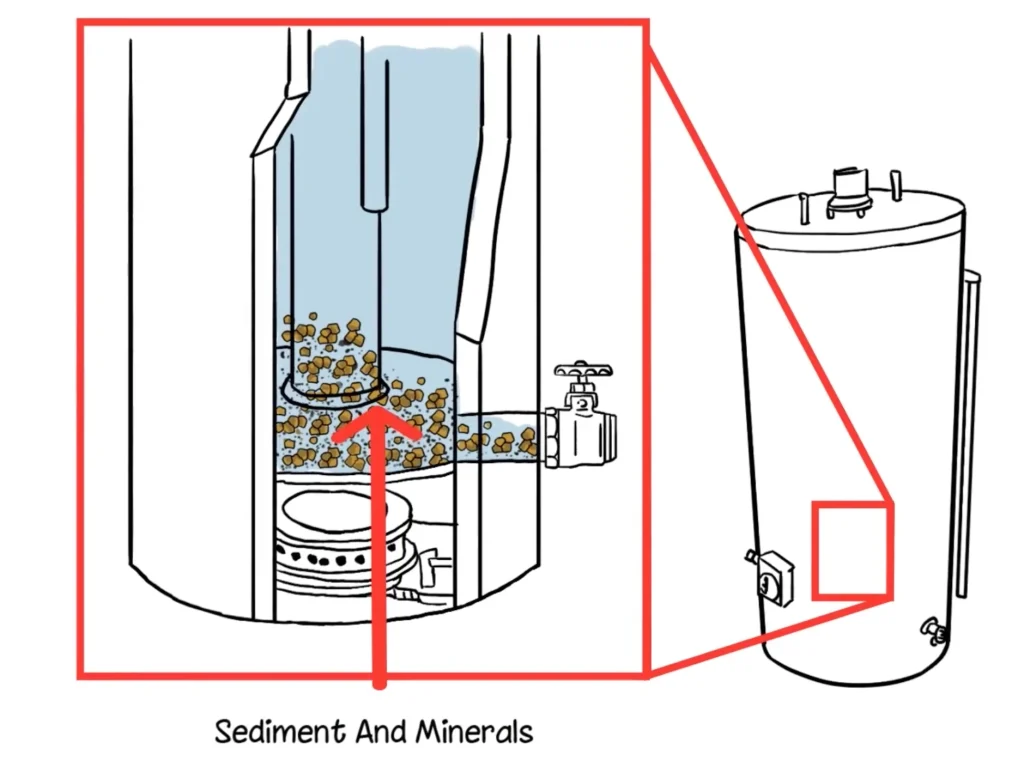
Lastly, sediment can clog the drain valve and water lines. This reduces water flow and pressure throughout your home. You might notice slower-filling bathtubs or weaker showers.
Regular flushing removes this harmful sediment. It’s like giving your water heater a fresh start. A clean tank heats water more efficiently, lasts longer, and provides better performance.
Tools and Materials Needed
Before you start flushing your water heater tank, gather these tools and materials:
- Garden hose – At least long enough to reach from your water heater to a drain or outside
- Bucket – To catch initial water and sediment
- Adjustable wrench or pliers – For opening and closing valves
- Work gloves – To protect your hands from hot surfaces and water
- Towels – For cleaning up spills
- Screwdriver – May be needed for some valve types
- Teflon tape – For resealing connections if needed
Optional but helpful items include:
- Flashlight – To see connections clearly
- Knee pads – If your water heater is in a tight space
- Vinegar – For stubborn sediment (1-2 gallons)
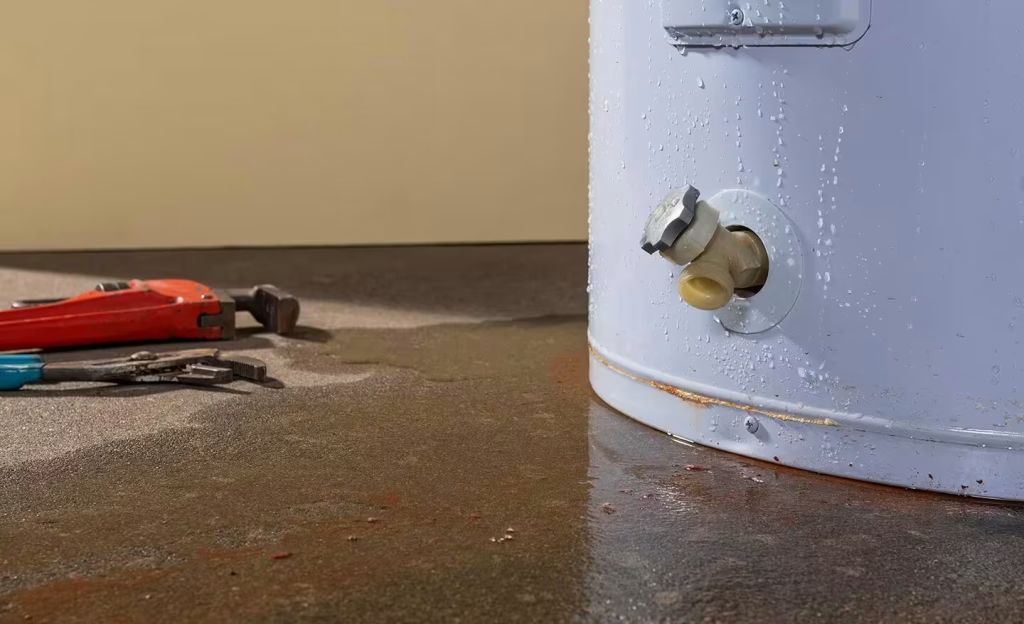
Make sure your garden hose has no leaks or cracks. A damaged hose can make a big mess during the flushing process. Also, check that your drain valve works before starting. Some older valves may be stuck or damaged.
Having all these items ready before you begin will make the job go much smoother. You won’t need to stop halfway through to find a missing tool.
Step-by-Step Guide to Flush Water Heater Tank
Follow these steps carefully to safely flush your water heater tank:
Step 1: Turn Off the Power or Gas
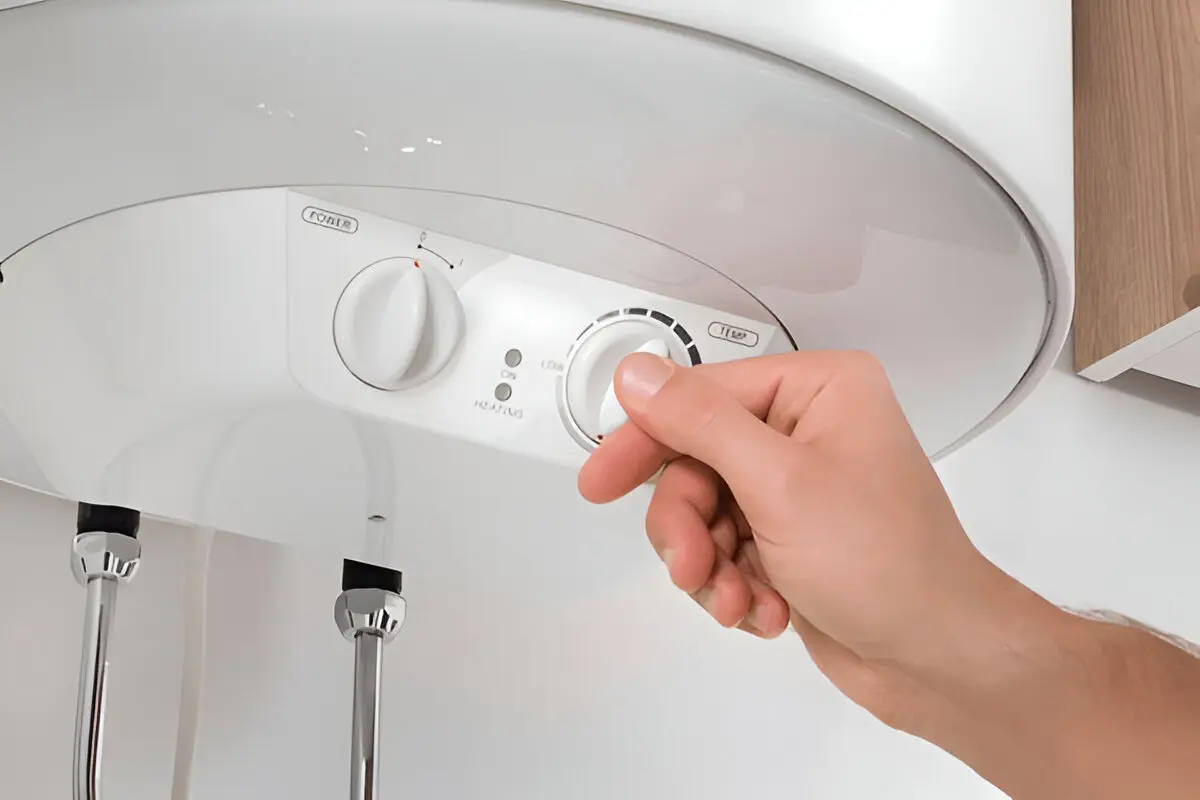
Safety comes first! For electric water heaters, switch off the circuit breaker that powers the unit. For gas water heaters, turn the thermostat to the “pilot” position. Never flush a water heater while it’s still heating.
Trying to flush a powered water heater can damage the heating elements. It can also be dangerous if the tank heats up during the process.
Step 2: Turn Off the Cold Water Supply
Find the cold water inlet valve on top of your water heater. Turn it clockwise until it’s fully closed. This stops new water from entering the tank during flushing.
The cold water valve usually has a blue handle or indicator. It’s typically on the right side when facing the water heater.
Step 3: Let the Water Cool Down
Hot water can cause serious burns. Wait at least 30-60 minutes for the water in the tank to cool to a safer temperature. This patience will help prevent accidents.
If you’re in a hurry, you can run hot water from a faucet for a few minutes to help cool the tank faster. Just remember that the water may still be quite warm.
Step 4: Connect a Garden Hose to the Drain Valve
The drain valve is near the bottom of your water heater. Attach one end of your garden hose to this valve. Place the other end in a bucket, floor drain, or outside where the water can safely drain.
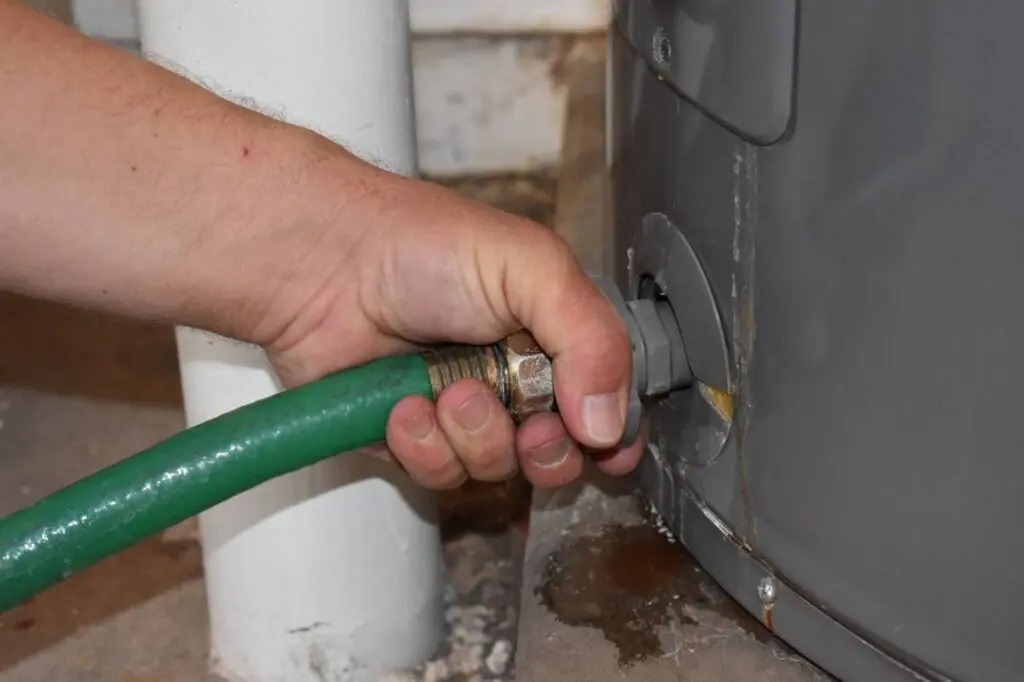
Make sure the hose is securely attached to prevent leaks. The drain valve may look like a small faucet or a slot for a screwdriver.
Step 5: Open a Hot Water Faucet
Go to the closest sink and turn on the hot water. This relieves pressure in the system and allows the tank to drain properly. Without this step, you might get slow draining or airlocks.
Leave this faucet running until you complete the flushing process.
Step 6: Open the Drain Valve
Return to your water heater and slowly open the drain valve. Use your bucket for the first few gallons, as this water will contain the most sediment. After the initial rush, direct the hose to your chosen drainage area.
Open the valve gradually to control the flow. If using a screwdriver-type valve, turn it counterclockwise about a quarter turn.
Step 7: Flush Until Clear
Let the water flow until it runs clear. This may take 5-15 minutes depending on sediment buildup. You might see rusty, cloudy, or particle-filled water at first. That’s normal!
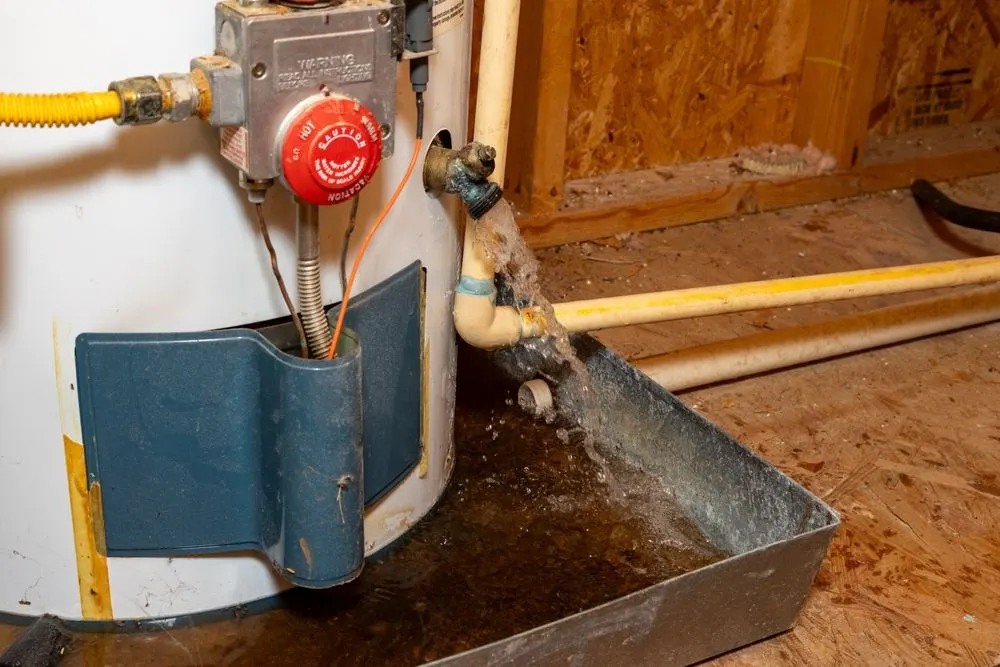
If the water doesn’t clear after 15 minutes, try closing and reopening the drain valve a few times to dislodge stubborn sediment.
Step 8: Close the Drain Valve and Remove the Hose
Once the water runs clear, close the drain valve by turning it clockwise. Remove the garden hose and clean up any spills.
Make sure the valve is completely closed to prevent leaks.
Step 9: Refill the Tank
Open the cold water supply valve to refill the tank. Keep the hot water faucet open until water flows steadily from it, then close it. This removes air from the lines.
The tank will take 20-30 minutes to fill completely, depending on your water pressure.
Step 10: Restore Power
Once the tank is full, restore power to the water heater. For electric models, switch the circuit breaker back on. For gas models, return the thermostat to your desired temperature setting.
Wait about an hour for the water to heat up before using hot water again.
How Often to Flush Your Water Heater
Most experts recommend flushing your water heater tank once a year. This regular maintenance keeps sediment from building up to harmful levels.
However, the frequency can vary based on your water quality. If you have hard water with high mineral content, you might need to flush every six months. Hard water creates more sediment more quickly.
Homes with water softeners may be able to go longer between flushes, perhaps every 18-24 months. Softened water contains fewer minerals that can settle in your tank.
New water heaters benefit from more frequent flushing in their first few years. Consider flushing a brand new water heater after 3-6 months, then settling into your regular schedule.
Vacation homes or properties that sit empty for long periods should have their water heaters flushed before being used again. Sediment can concentrate during periods of non-use.
Create a simple maintenance calendar reminder on your phone or computer. Regular flushing is one of the easiest and most effective ways to extend your water heater’s life.
Signs Your Water Heater Needs Flushing
Even if you follow a regular maintenance schedule, watch for these warning signs that your water heater needs immediate flushing:
Reduced Hot Water Supply
If your showers turn cold faster than they used to, sediment might be taking up space in your tank. This leaves less room for hot water storage. A 50-gallon tank with 10 gallons of sediment only holds 40 gallons of usable hot water.
You might also notice that your water doesn’t get as hot as it once did. Sediment insulates the heating element, making it less effective.
Strange Noises
Popping, rumbling, or banging sounds from your water heater are clear signs of sediment buildup. These noises happen when water gets trapped under sediment layers and bubbles up as it heats.
The sounds might start quietly and grow louder over time. Don’t ignore them! They indicate your water heater is working harder than it should.
Rusty or Discolored Water
If your hot water looks rusty, brown, or contains visible particles, your tank likely needs flushing. Sediment can break loose and enter your water supply.
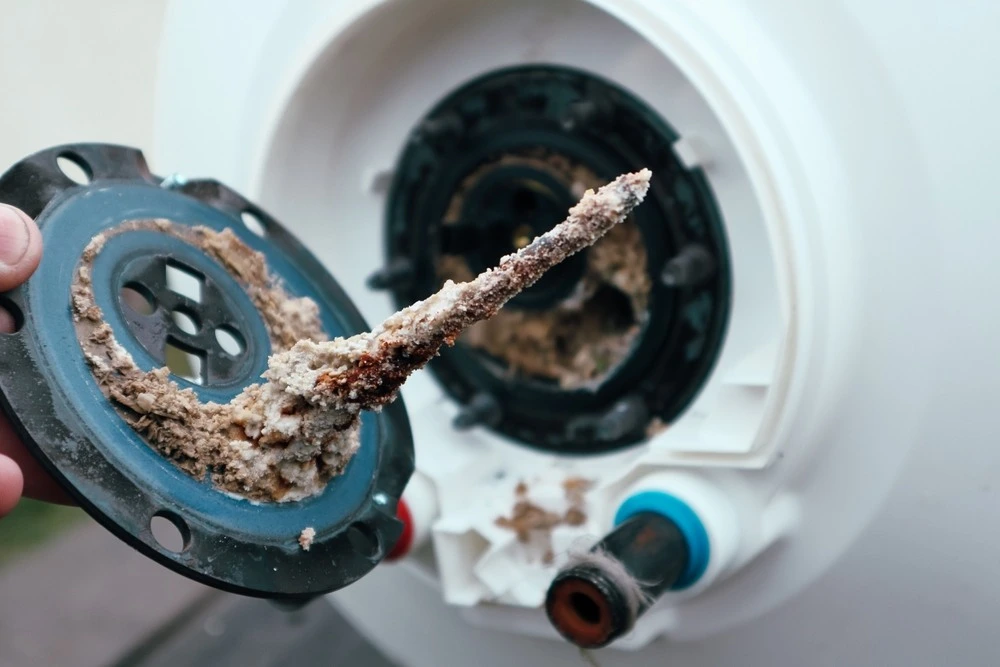
Check by filling a clear glass with hot water and another with cold water. If only the hot water is discolored, your water heater is the likely culprit.
Longer Heating Times
When your water heater takes longer to recover after use, sediment might be the problem. The heating element has to work through the insulating layer of sediment before it can heat your water.
This inefficiency wastes energy and increases your utility bills. It also puts extra strain on your water heater components.
Higher Energy Bills
A sudden increase in your energy bills might be due to an inefficient water heater. When sediment builds up, your heater works harder and uses more energy to provide the same amount of hot water.
Flushing can restore efficiency and bring your bills back down. Many homeowners report saving 10-30% on water heating costs after proper tune up.
FAQs About Flushing Water Heaters
Is it dangerous to flush my own water heater?
Flushing your water heater is generally safe if you follow proper procedures. The main risks are burns from hot water and potential water damage if connections leak. Always turn off power first, let the water cool, and work carefully. If you’re uncomfortable doing it yourself, hire a professional plumber.
Can flushing damage an old water heater?
In rare cases, flushing an older water heater (10+ years) that has never been maintained might dislodge sediment that was actually sealing small leaks. However, not flushing is far more damaging in the long run. If you’re concerned about an old unit, consider having a professional assessment first.
How much water does flushing waste?
Flushing typically uses 20-50 gallons of water, depending on your tank size and sediment amount. This is a small amount compared to the water and energy you’ll save through improved efficiency. To be eco-friendly, collect the later, cleaner water for plants or lawn watering.
What if my drain valve is stuck or leaking?
A stuck valve might be freed by gently tapping it with a wrench handle. If it’s leaking or broken, close it as best you can and call a plumber. Replacing a drain valve is an intermediate repair that sometimes requires draining the tank through alternative methods.
Do tankless water heaters need flushing too?
Yes! Tankless water heaters also benefit from regular flushing, though the process is different. They typically need descaling with vinegar every 12-18 months. Consult your owner’s manual for specific instructions or hire a professional for this specialized service.
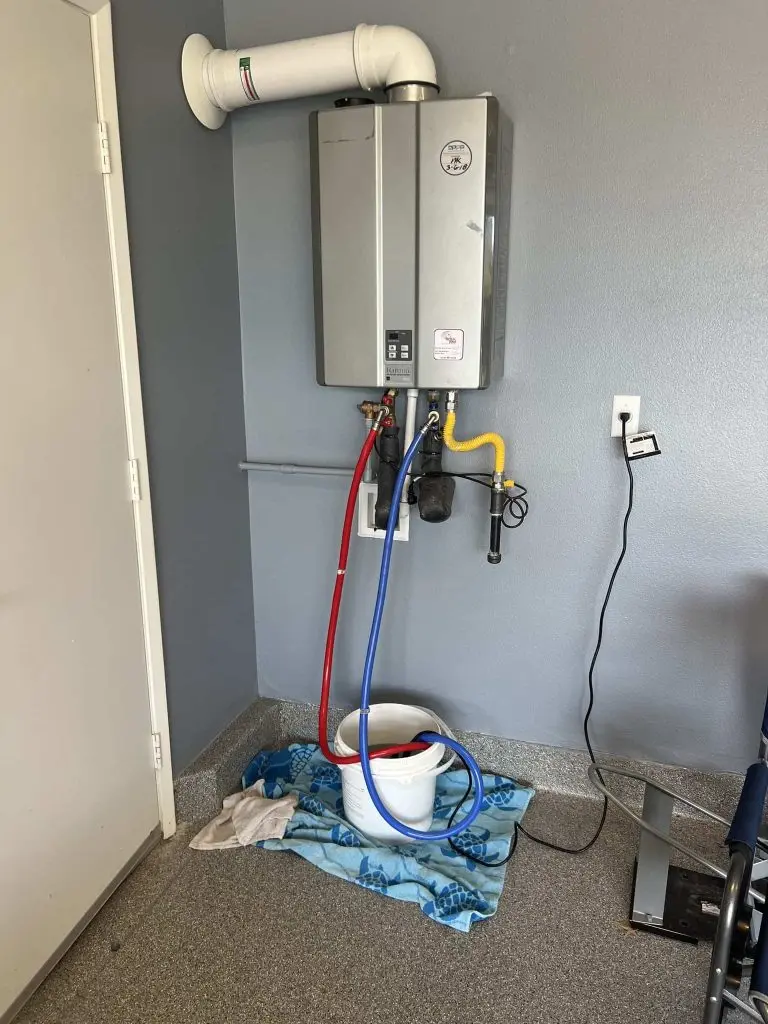
Can I use chemicals to clean my water heater?
Chemical cleaners are generally not recommended for water heaters. They can damage internal components and may not be fully removed during flushing. Stick to the mechanical flushing process described above. If you have extreme sediment problems, a professional cleaning might be necessary.
How much money can I save by flushing my water heater?
Regular flushing can reduce water heating costs by 10-30% by improving efficiency. It can also extend your water heater’s lifespan by 3-5 years, saving $700-$1,500 in replacement costs. The exact savings depend on your water quality, usage patterns, and energy prices.
What if I’ve never flushed my water heater before?
It’s never too late to start! If your water heater is several years old and has never been flushed, expect to spend more time on the process as there may be substantial sediment. You might need to repeat the flushing procedure 2-3 times to get all the sediment out.
Ready to tackle more home maintenance tasks or need help with your water heater?
Maintaining your water heater through regular flushing is one of the smartest things you can do as a homeowner. This simple task saves money, extends equipment life, and ensures you have reliable hot water when you need it. Our professional plumbers are just a phone call away. Schedule an appointment with Shipton’s Heating and Cooling today to keep your plumbing systems running smoothly for years to come!